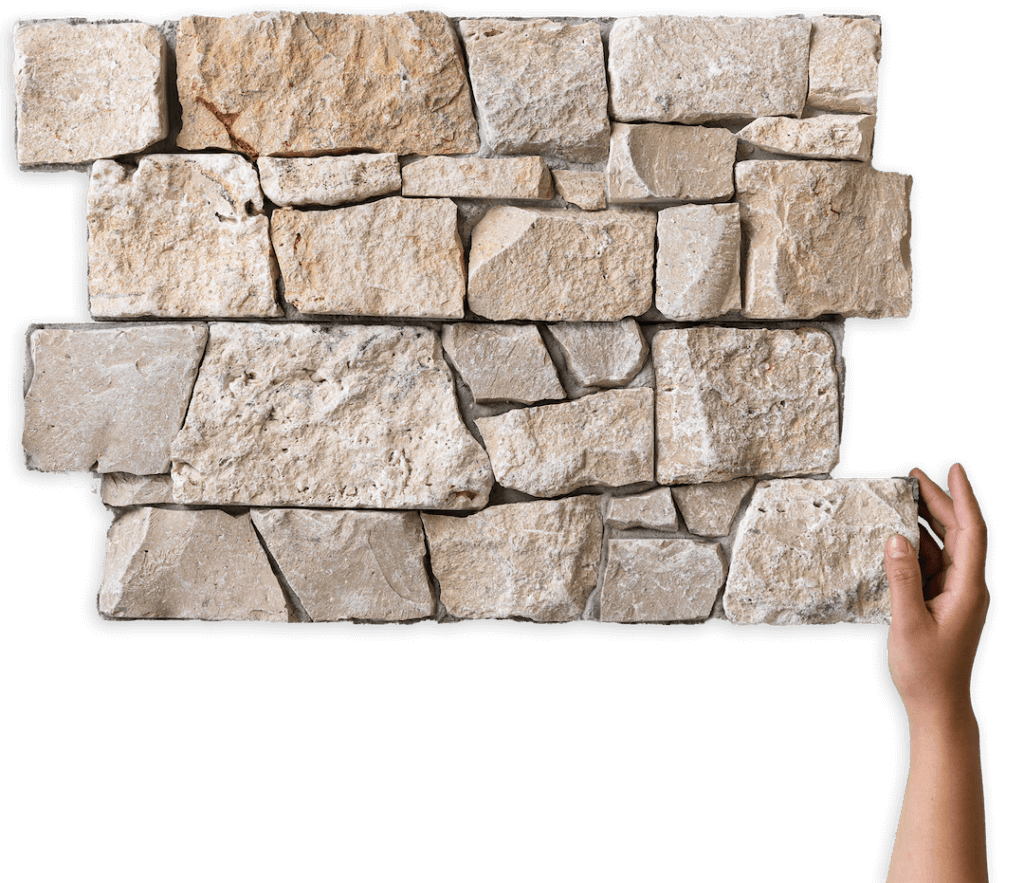
DIY tile projects can be a great way to add a personal touch to your home and increase its value. Whether you’re looking to update a bathroom, kitchen, or any other space in your home, tiles offer a wide range of options in terms of material, color, and pattern.
If you’re considering tackling a DIY tile project in your home, here are some tips to help you get started:
- Choose the right tiles: When selecting tiles for your project, consider the location and purpose of the tiles. For example, if you’re tiling a kitchen backsplash, you’ll want to choose tiles that are easy to clean and resistant to heat and moisture. If you’re tiling a bathroom floor, look for tiles that are slip-resistant and able to withstand moisture. There are many different types of tiles to choose from, including ceramic, porcelain, glass, and natural stone.
- Measure and mark the area: Before you start your project, it’s important to accurately measure and mark the area where you will be installing the tiles. This will help ensure that your tiles are evenly spaced and straight.
- Gather all necessary materials: Make sure you have everything you need before you begin your project. This might include tiles, adhesive, grout, a trowel, a tile cutter or wet saw, spacers, and any other tools or supplies required.
- Mix the adhesive: Follow the instructions on the adhesive packaging to mix the correct amount for your project.
- Lay the tiles: Begin at the center of the area and work outward, using spacers to ensure that the tiles are evenly spaced. Make sure to regularly check that the tiles are level as you go.
- Allow the adhesive to dry: Follow the manufacturer’s instructions for drying time.
- Mix the grout: Follow the instructions on the grout packaging to mix the correct amount for your project.
- Apply the grout: Use a grout float to spread the grout evenly between the tiles, making sure to fill all the gaps. Wipe off excess grout with a damp sponge.
- Allow the grout to dry: Follow the manufacturer’s instructions for drying time.
- Seal the grout: Use a grout sealer to protect the grout from stains and water damage.
By following these steps, you can successfully complete a DIY tile project in your home. Remember to take your time and be patient, and don’t be afraid to seek out additional resources or advice if you need it. With the right materials and a little bit of know-how, you can transform any space in your home with the beauty and durability of tiles.
- Kitchen countertops: If you’re looking to update the look of your kitchen, consider tiling your countertops. Choose tiles that are durable and resistant to stains and heat, such as granite or quartz. Measure and mark the countertop area carefully, and use a wet saw or tile cutter to make any necessary cuts. Apply adhesive and tiles as described above, and allow the adhesive to dry completely before grouting and sealing the tiles.
- Shower walls: Give your bathroom a fresh, modern look by tiling the shower walls. Choose tiles that are resistant to moisture and able to withstand the heat and steam of a shower. Measure and mark the shower walls, and apply adhesive and tiles as described above. You may want to consider using large format tiles or a mosaic pattern to add visual interest. Allow the adhesive to dry completely before grouting and sealing the tiles.
- Outdoor kitchen: Create an outdoor cooking and entertaining space by tiling an outdoor kitchen. Choose tiles that are resistant to weather and wear, and consider using a pattern or mosaic to add visual interest. Measure and mark the area, and apply adhesive and tiles as described above. Allow the adhesive to dry completely before grouting and sealing the tiles.
- Entryway: Give your home’s entrance a stylish and durable update by tiling the floor. Choose tiles that are resistant to wear and able to withstand the elements. Measure and mark the floor, and apply adhesive and tiles as described above. You may want to consider using a pattern or mosaic to add visual interest. Allow the adhesive to dry completely before grouting and sealing the tiles.
- Stair risers: Add a touch of personality to your stairs by tiling the risers. Choose tiles that are durable and resistant to wear. Measure and mark the risers, and apply adhesive and tiles as described above. You may want to consider using a pattern or mosaic to add visual interest. Allow the adhesive to dry completely before grouting and sealing the tiles.


